PC Cabinet
Filter
Showing 1–24 of 173 results
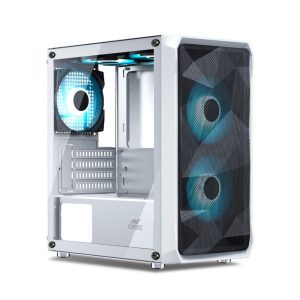
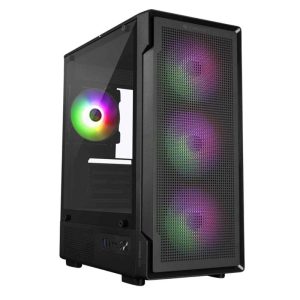
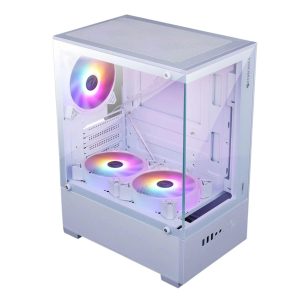
Ant Esports ICE-100 Air Mini Tower Gaming PC Cabinet – White
Original price was: ₹3,687.₹3,499Current price is: ₹3,499.
Free Ship
In stock
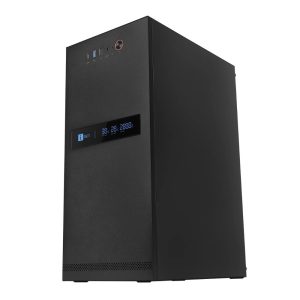
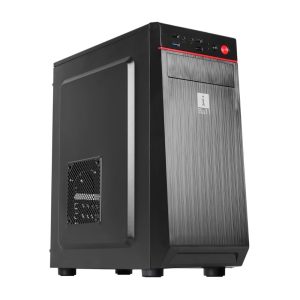
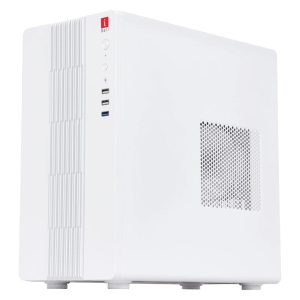
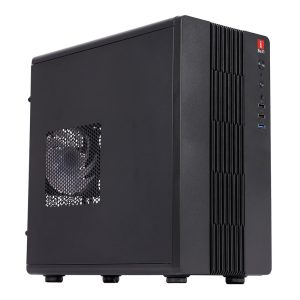
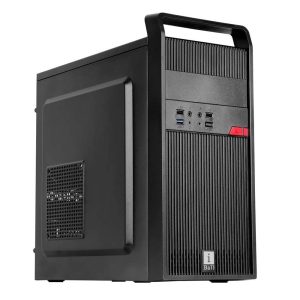
iBall AT 100CD Mid Tower PC Cabinet with SMPS – Black
Original price was: ₹8,399.₹3,449Current price is: ₹3,449.
Free Ship
In stock
iBall AT 30C Mid Tower PC Cabinet with SMPS – White
Original price was: ₹8,399.₹3,399Current price is: ₹3,399.
Free Ship
In stock
iBall AT 30C Mid Tower PC Cabinet with SMPS – Black
Original price was: ₹8,199.₹3,299Current price is: ₹3,299.
Free Ship
In stock

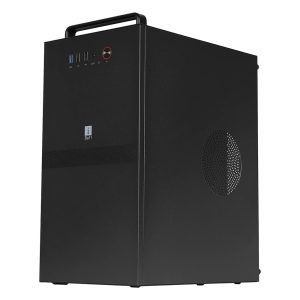
iBall AT 10 Mid Tower PC Cabinet with SMPS – Grey
Original price was: ₹5,999.₹2,649Current price is: ₹2,649.
Free Ship
In stock
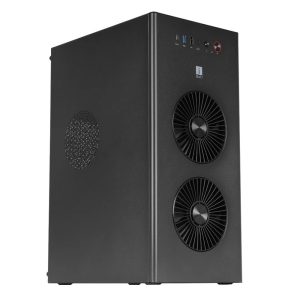
iBall AT 20 Mid Tower PC Cabinet with SMPS – Black
Original price was: ₹6,299.₹2,899Current price is: ₹2,899.
Free Ship
In stock
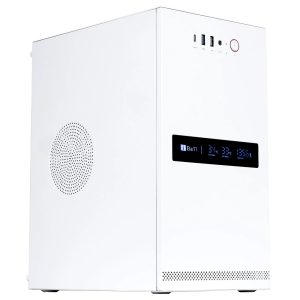
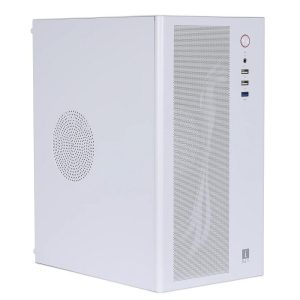
iBall MT 100CD Mini Tower PC Cabinet with SMPS – White
Original price was: ₹7,999.₹3,199Current price is: ₹3,199.
Free Ship
In stock
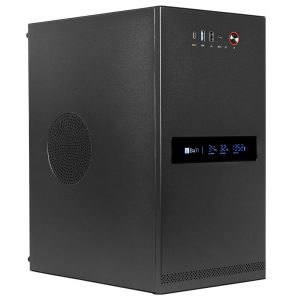
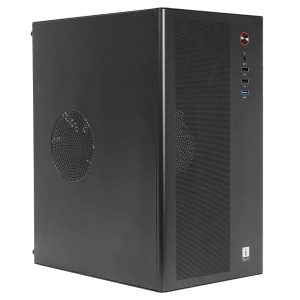
iBall MT 100CD Mini Tower PC Cabinet with SMPS – Black
Original price was: ₹7,799.₹3,099Current price is: ₹3,099.
Free Ship
In stock

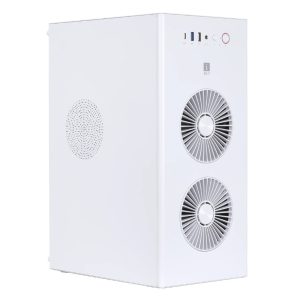
iBall MT 40 Mini Tower PC Cabinet with SMPS – White
Original price was: ₹6,699.₹2,899Current price is: ₹2,899.
Free Ship
In stock
iBall MT 40 Mini Tower PC Cabinet with SMPS – Black
Original price was: ₹6,399.₹2,799Current price is: ₹2,799.
Free Ship
In stock
iBall MT 30 Mini Tower PC Cabinet with SMPS – White
Original price was: ₹6,999.₹2,999Current price is: ₹2,999.
Free Ship
In stock
iBall MT 30 Mini Tower PC Cabinet with SMPS – Black
Original price was: ₹6,499.₹2,849Current price is: ₹2,849.
Free Ship
In stock
iBall MT 20 Mini Tower PC Cabinet with SMPS – White
Original price was: ₹6,399.₹2,699Current price is: ₹2,699.
Free Ship
In stock
iBall MT 20 Mini Tower PC Cabinet with SMPS – Black
Original price was: ₹6,199.₹2,599Current price is: ₹2,599.
Free Ship
In stock
iBall MT 10 Mini Tower PC Cabinet with SMPS – Black
Original price was: ₹5,499.₹2,475Current price is: ₹2,475.
Free Ship
In stock
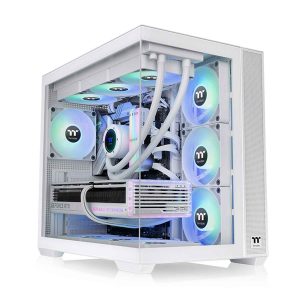
Thermaltake View 380 TG ARGB Snow Mid Tower PC Cabinet – White
Original price was: ₹14,100.₹7,599Current price is: ₹7,599.
Free Ship
In stock
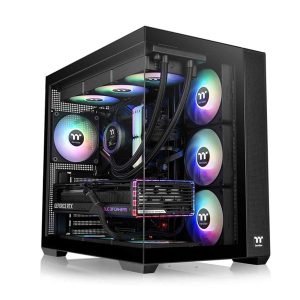
Thermaltake View 380 TG ARGB Mid Tower PC Cabinet – Black
Original price was: ₹13,500.₹7,299Current price is: ₹7,299.
Free Ship
In stock
MSI Mag Pano 110R PZ Mid Tower Cabinet – Black
Original price was: ₹9,999.₹7,999Current price is: ₹7,999.
Free Ship
In stock
MSI PAG Pano M110A Mid Tower Cabinet – Black
Original price was: ₹4,999.₹4,799Current price is: ₹4,799.
Free Ship
In stock
MSI Pro Forge M050A Mini Tower Cabinet – Black
Original price was: ₹3,999.₹3,799Current price is: ₹3,799.
Free Ship
In stock
MSI MAG Forge 130A Airflow Mid Tower Cabinet – Black
Original price was: ₹4,999.₹3,999Current price is: ₹3,999.
Free Ship
In stock
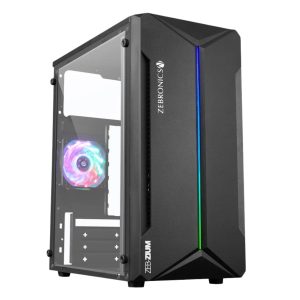
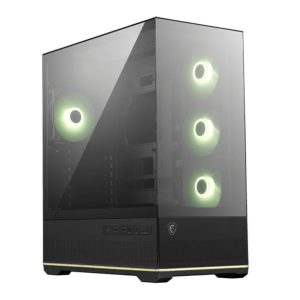
Zebronics ZEB-ZIUM Mini Tower Gaming Cabinet – Black
Original price was: ₹2,499.₹2,199Current price is: ₹2,199.
Free Ship
In stock
Zebronics ZEB-STEALTH Mini Tower Gaming Cabinet – Black
Original price was: ₹7,399.₹3,899Current price is: ₹3,899.
Free Ship
In stock
Zebronics ZEB-ICEBERG Mini Tower Gaming Cabinet – White
Original price was: ₹7,199.₹3,199Current price is: ₹3,199.
Free Ship
In stock